How often do you check the tightness of your chainsaw chain? Chainsaws are powerful tools that can make quick work of a tree or branch, but they need to be in good working order. If the saw is not sharp enough, then it will just take up more time and energy.
Similarly, if the chainsaw chain is too loose or too tight, it won’t cut wood efficiently. In this article, experts will discuss how to maintain a well-tuned chainsaw so that you can get back to cutting down trees!
Table of Contents
Why is it important to have a chainsaw with proper tension?
A chain’s proper tension is perhaps even more essential than the sharpness of the chain. An improperly tensioned chain will not “bite” into the wood, resulting in early wear on your drive sprocket since it applies excessive tension to the sprocket itself.
What is the correct chainsaw chain tension?
You should understand what ideal chainsaw chain tension looks like before going through the tensioning procedures:
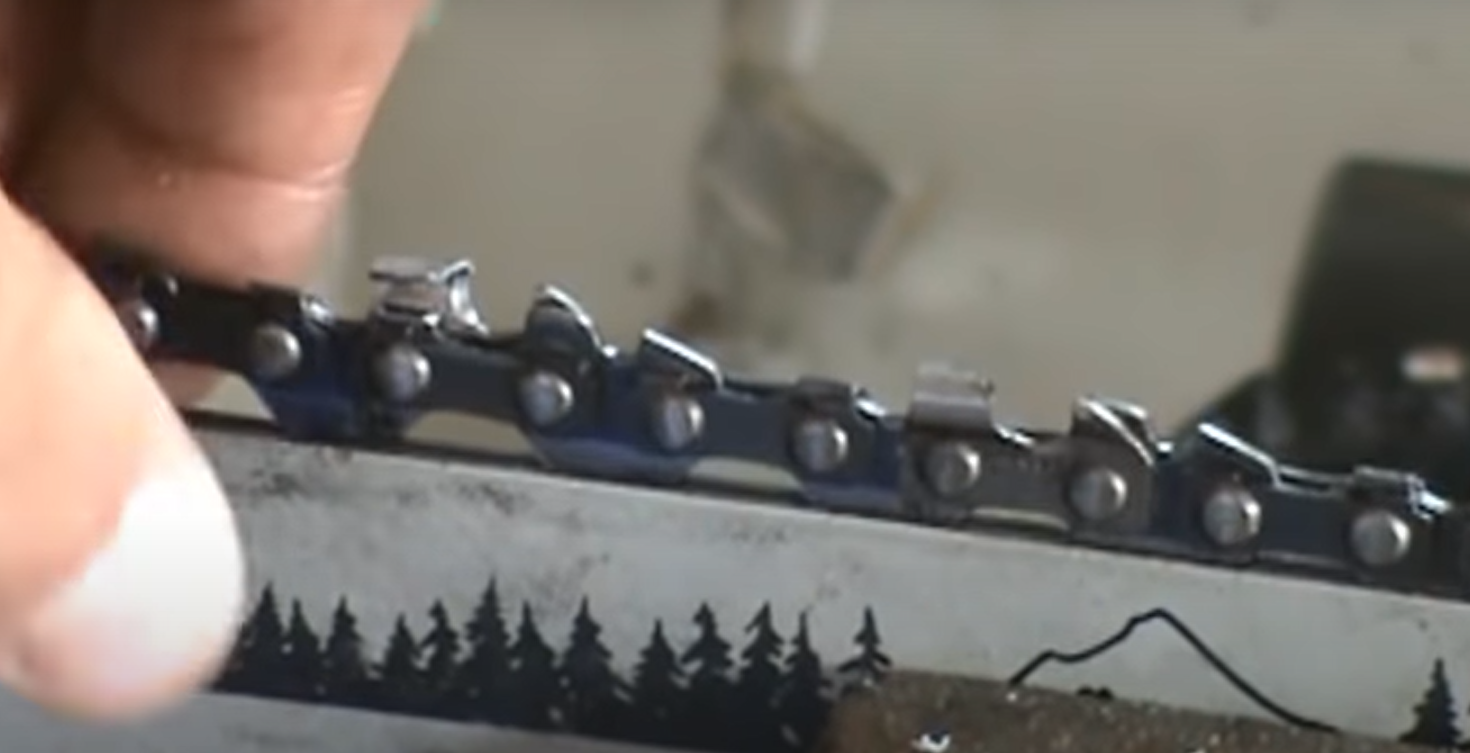
- Properly tensed chain. The chainsaw chain should not be too tight on the saw’s guide bar. However, it definitely should be tight enough that you can’t pull out the drive links from the bar nose. Pull the chain away from the guide bar to see whether the drive links are still engaged or not to determine if your chainsaw’s chain tension needs to be adjusted;
- Poor tensed chain. When a loose chainsaw chain is drawn away from the guide bar, it looks like hanging. If the drive links on a pulled chainsaw chain are disconnected from the bar, then it is definitely time to tighten them;
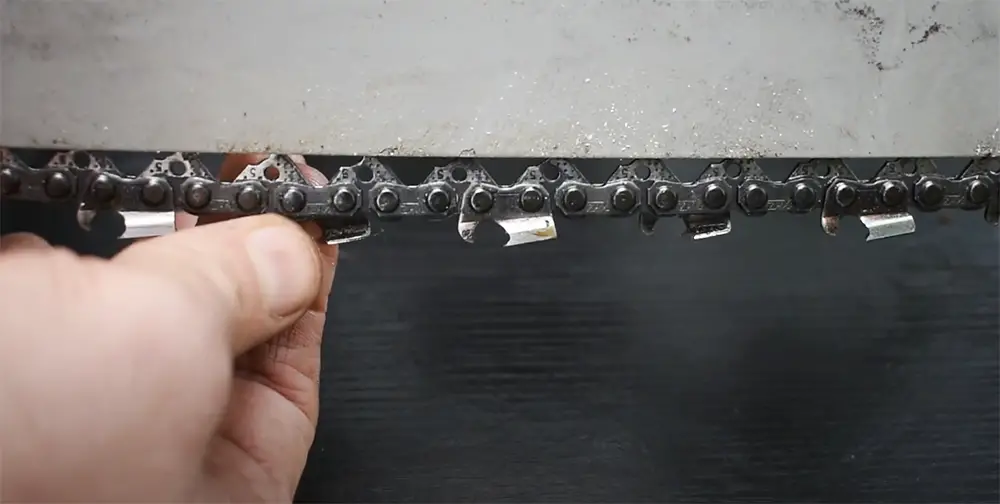
There are also chances that the chainsaw chain is overtightened, which will cause it to break during operation. The drive links should be able to slide freely within the guide bar, but not so much as to expose the teeth of the cutting mechanism. When a chainsaw chain is excessively tight, it has a higher risk of breaking while in use.
Testing the tension of your chain:
How to do a snap test?
This genuine check allows you to determine the tightness of your chain’s tension. You must complete the following procedures in order to pass this test:
- Remove the chain from your saw gradually, stopping when it is far enough away from the bar;
- Examine the chain for snapping after it has been removed;
- A good indication of perfect tension in the chain is if it returns to its position;
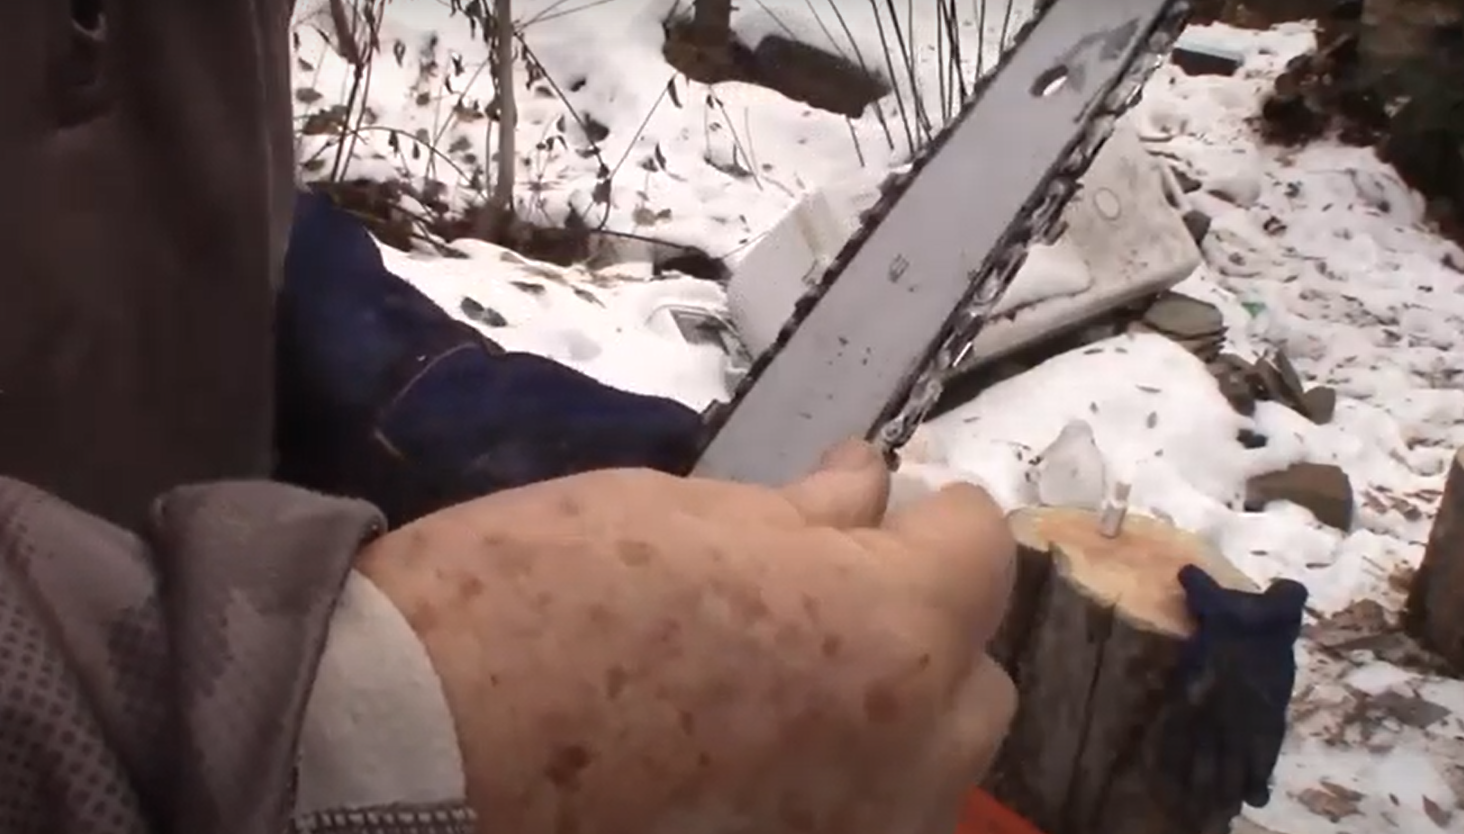
If you’re having trouble with the chain pulling, it’s probably because the chain is too tight. If you pull the chain and it just springs back, your chain is too loose.
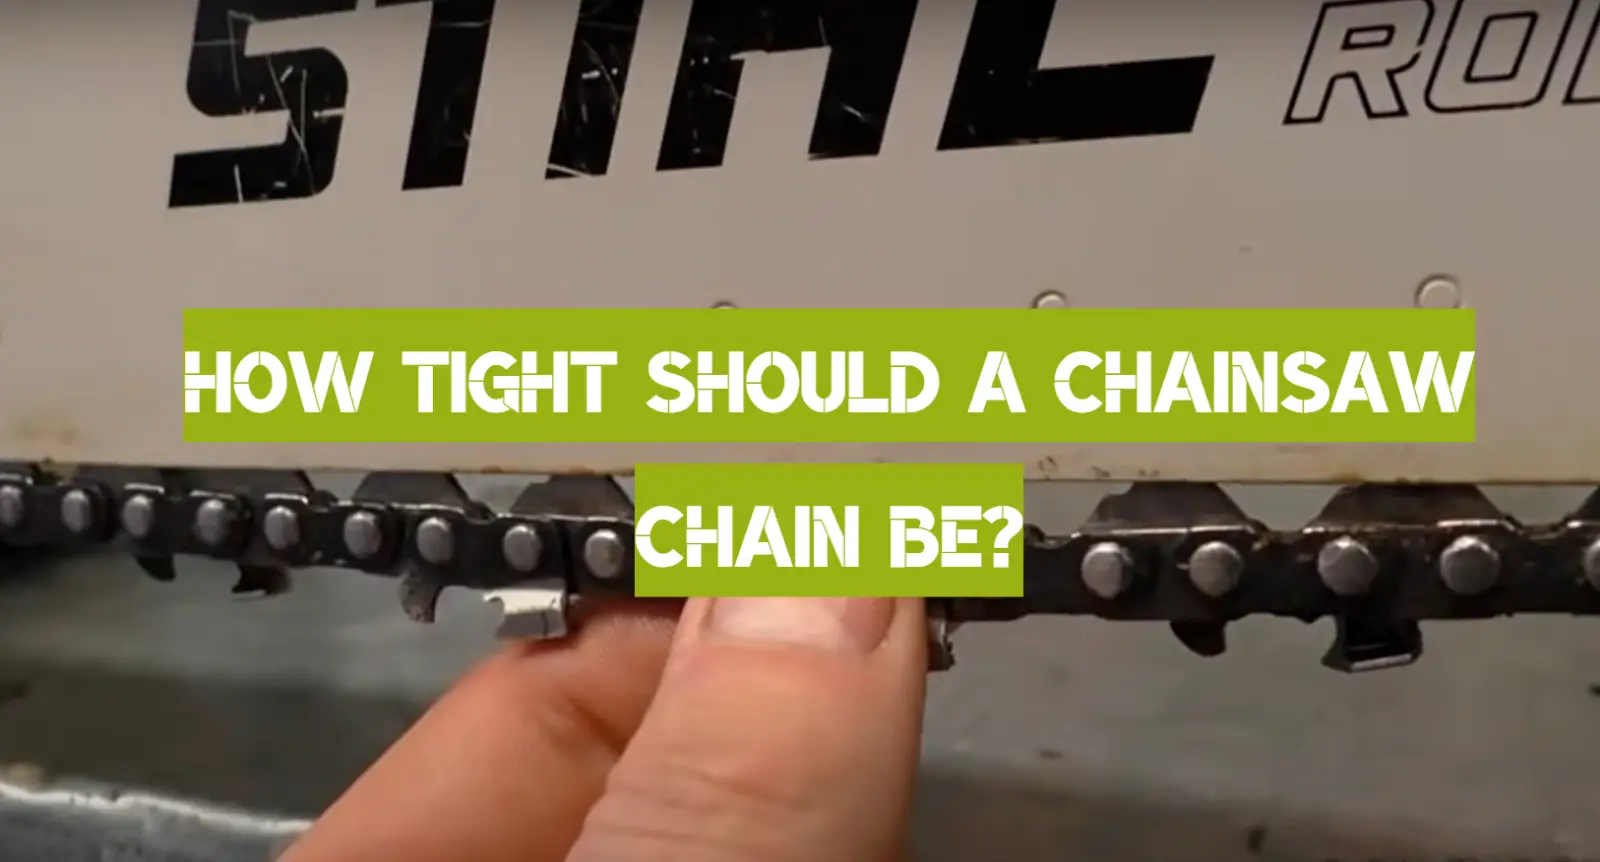
Although this test is sufficient in determining the tightness of your chain, if you want greater accuracy, experts recommend performing the second test to see how far it stretches. [1].
How to do the pull test?
This test is most useful in determining your chain’s tightness and advising you on what to do if it’s too tight or loose. The following are the actions that must be completed:
- Remove the chain from the blade of your saw slowly and carefully.
- Pull it as far away from the bar as you feel comfortable without losing your grip on the chain via your finger;
- Make sure the drive links do not remove from the bar groove, but that the chain remains partially lifted from the bar;
If the test shows that your chain is too loose or tight, you must make the appropriate adjustments [2].
How Should You Tighten a Chainsaw Chain: Step-by-Step Guide
Despite the fact that tensioning a chainsaw chain is simple and takes less than a minute, it’s critical to follow each step carefully and correctly. Forgetting to raise the guide bar nose when tightening it may severely damage your equipment.
1) Loosen the bar’s nuts
Ensure the chain and its guide bar have the space they require to be adjusted. Some brakes are fastened directly to the side panel. If this is the case, make careful before removing the side panel since the brake is connected directly to it.
2) Check the screw responsible for tensioning
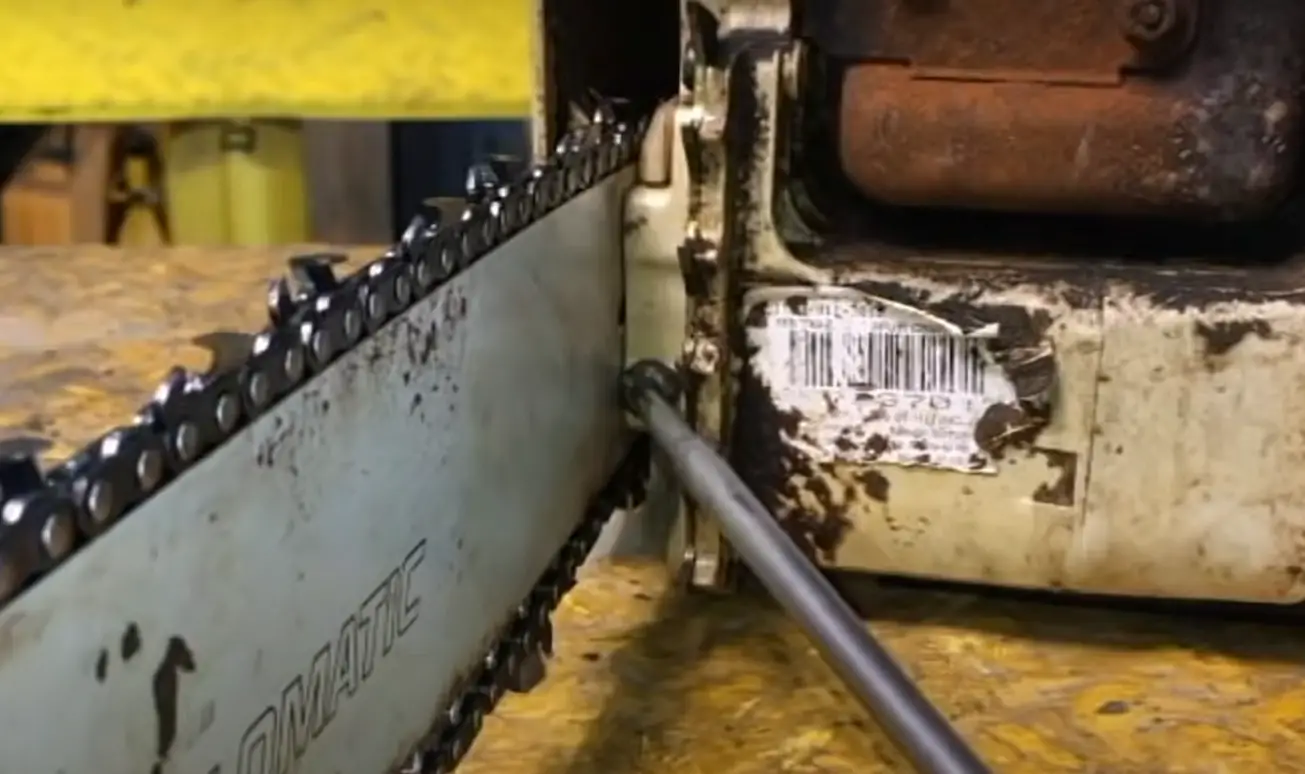
The chain will be loosened or tightened by adjusting tension screws. Usually, they are located on the side of the chainsaw’s guide bar. The screw will tighten the chain and loosen it, as previously said. Before going any further, double-check the chain’s tightness.
3) Tighten the nuts
It’s critical to tighten the nuts that secure the side panel while lifting the saw’s nose. Your chainsaw chain is now in good operating order.
Comparison of Chain Tension Indicators for Chainsaws
Proper chain tension is crucial for the safe and efficient operation of a chainsaw. The chain should be tightened enough to prevent it from slipping off the guide bar, but not so tight that it restricts movement. This table compares various indicators of chain tension for chainsaws.
The table below compares four different methods of measuring chain tension: slack, finger, quarter-turn, and sound. Slack refers to the amount of play in the chain when it is pulled away from the guide bar. Finger tension is measured by pressing down on the chain with your fingers. Quarter-turn tension is achieved by tightening the chain until it can be rotated a quarter-turn on the guide bar. Sound tension involves adjusting the chain until it makes a distinct humming sound when running.
| Chain Tension Indicator | Ideal Tension | Advantages | Disadvantages |
|---|---|---|---|
| Slack | 1/4 to 1/2 inch | Easy to measure | May not provide precise tension |
| Finger | Chain should sag slightly | Allows for slight give while cutting | May not be accurate for inexperienced users |
| Quarter-turn | Chain should be snug against the guide bar | Provides consistent tension | May require additional adjustments after use |
| Sound | Distinct humming sound | Quick and easy method | May not provide precise tension |
This table provides a quick reference guide for determining the ideal chain tension for a chainsaw, as well as the advantages and disadvantages of each method. It is important to note that the ideal tension may vary depending on the make and model of the chainsaw, so it is always best to refer to the manufacturer’s instructions.
FAQ
How do you know if your chainsaw chain is tight properly?
When the drive links on a pulled chainsaw chain are disconnected from the guide bar, it’s time to tighten them up. If you do this, there is a higher chance of breaking your saw while in use since excessive tightness can have these negative effects:
- Exposing cutting teeth that will result in breakage;
- Stretching and snapping along with pulling out of the groove when working at an angle;
If you’re having trouble with the chain pulling, it’s probably because the chain is too loose or tight. A good indication of perfect tension in the chain is if it returns to its position once let go. However, experts recommend performing another test for greater accuracy.
How often should you tighten the saw’s chain?
If you’re using a new chainsaw, the model’s manual should detail how long it takes to break in. The chain needs to be tightened frequently during this time because it is breaking in. It will not be the case with a chainsaw chain that has been used for a lengthy period of time.
The break-in period is when any flaws on the friction surface generally smooth out, and the rivets in the chain drive links will be firmly embedded.
According to the type of gas you are utilizing, the break-in period will vary. The chain tension should be checked before it runs out. It’s a good idea to check the chain tension frequently while it’s still new.
After you’ve finished cutting, loosen the chain tension to assist it to become more efficient. It will be simple to start the chainsaw and the chain won’t have to grip the guide bar as tightly when it cools because of this.
What should you do if the chain comes loose?
There are a few reasons why this may happen:
1) The chain was not initially set as it should
When you tighten your chainsaw chain, you “set” its tension so it won’t fluctuate as you use the saw.
Although there are some devices that include an automatic tensioning handle, most have just one or 2 bolts. In essence, these bolts “lock” the chain saw bar position to the internal sprocket, ensuring that the chain tension remains consistent.
If the bolts are too loose, the position of the bar will shift, causing your chain’s tension to change.
2) Possible mechanical issues
Another cause of a chainsaw chain becoming loose (repeatedly) is a genuine mechanical issue with the machine. To grasp this idea, consider what happens inside a chainsaw when you tighten it.
The distance between the sprocket and the chainsaw bar is what determines a chainsaw’s tension. The internal components of a chainsaw are seen in the image below, with the sprocket, chain, and bar all coming together.
When you tighten your chainsaw chain, the chain tensioning mechanism simply draws the bar a little farther away from the sprocket.
Even if you’ve followed every step carefully, the internal hardware might cause your chainsaw to come unattached if there is harm or a failure.
3) Temperature may fluctuate drastically
This one is based on physics. When metal gets warmer, it expands. As the chain heats up, it grows in size. This is most likely the most common reason for a chainsaw to begin tightly and then become loose. When you store your chainsaw in temperatures below freezing, this is more likely to happen.
Then, even if you do a perfect job tightening it, you’ll almost certainly have to tighten it again after using the chainsaw for some time.
In extremely hot or extremely cold areas, the temperature might have a bigger influence on your chain tension. However, in most situations, going between storage and usage will cause greater temperature variances.
If your chainsaw won’t start, you’ll need to call a reputable shop that can perform the service. You may fix many chainsaw maintenance tasks yourself, but it’s usually better to pay a little money and have it done for you if there is a mechanical issue.
Can a chainsaw chain tighten on its own?
In a sense, yes. The chain will tighten as it heats up because the metal expands and pushes against the guide bar.
This is a reasonable explanation for why your chainsaw might become loose after running it for some time or going outside into colder temperatures. However, you should still make sure to check the tightness of your chain periodically throughout its life span just in case there are other issues that could lead to this problem occurring more frequently than expected.
Why do chains of chainsaws stretch over time?
The stress and friction of a chainsaw chain cause it to stretch and loosen. The heat produced by cutting wood causes the chain to loosen due to friction. The guide bar expands when heated, and when it cools, the chain has stretched. As the chain gets worn down through use, it will also lose tension [3].
Why isn’t your chainsaw chain getting tight?
The saw chain on a chainsaw will loosen over time, due to the heat of cutting wood. This is one reason why it’s important that you check your guide bar periodically for wear and tear. A loose guide bar can cause kickbacks or binding when in use, so this needs to be checked before using your machine again after being idle.
A new replacement chainsaw chain might fit too tightly at first if you are trying to replace an old worn-out one with a new model from the same brand. The tightness should adjust as the metal expands during operation.
While tightening both nuts evenly works best most of the time, sometimes only one nut has become loosened enough for this issue to occur (usually because it was not tightened enough in the first place).
A too loose chain will not cut well, but it also might bounce around or become twisted. A chain should be adjusted so you can see 3-4 rivets above the guide bar when viewed from above. This ensures your saw stays safe and cuts effectively throughout its life span.
Can you over-tighten a chainsaw chain?
Yes. If the chain is too tight, it will be more likely to come off while in use due to increased friction and heat buildup. However, this usually only happens if you tighten one of the nuts far past what is needed (usually by using a wrench or pliers).
The tensioning mechanism on most chainsaws should not allow for over-tightening. However, some models do have adjustable systems that could potentially cause this problem with heavy usage. This can also happen when replacing an old worn-out guide bar with a new model from your brand. An excessively tightened chain might still detach during operation even if it has been adjusted properly according to these guidelines.
A loose saw chain won’t cut well because there’s no tension – so if you’re having this problem, it’s a good idea to tighten the chain once more and re-test. If it still doesn’t cut well, contact your local shop or replace the guide bar if necessary.
What is proper chain tension?
A properly tensioned chain should be able to support itself against the bottom of the bar. The chain shouldn’t sag, but neither should it be so loose that it damages your saw as it spins on the bar.
How tight should a Stihl chainsaw chain be?
The chain tensioner at the side of most Stihl saws is user-friendly, with which the chain may be quickly tensioned. Remove the sprocket cover screws when the engine is turned off, then tighten the tensioning screw with a screwdriver and carefully pull the chain through by hand [5].
How to tighten a chain on a Craftsman chainsaw?
When you’re facing the chain saw blade, insert a flat-head screwdriver or chainsaw multi-tool into the adjustment screw on the right side. This is in contrast to the operational position. Turn the screw clockwise to increase chain tension or counterclockwise to decrease it [6].
How to tighten a chain on an electric chainsaw?
The answer to this question will depend on the type of chainsaw you are using. Electric chainsaws usually have a tension indicator where users can check if their chain needs tightening or when it should be replaced. If your electric saw doesn’t come with one, then you need to know how much slack there is between links and what kind of wear they show in order to determine whether or not you need to tighten them up.
How to tighten a chain on a Poulan chainsaw?
Your Poulan chainsaw cutting chain gets hot and stretches as it is used, resulting in excess slack in the chain. To keep the chainsaw running efficiently, adjust the cutting chain tension before and after refueling. When using a chainsaw, the cutting chain may fly off of the guide bar, causing significant harm to your hands, legs, and feet.
The Poulan chainsaw chain must also be tightened on a regular basis to avoid expensive damage to the chain and chain bar:
- To get to the cutting chain adjusting screw, put on protective gloves. Then set the chainsaw on a flat working surface;
- With the guide bar adjusting tool or socket wrench, loosen the guide bar nuts that secure the clutch cover to the chainsaw engine. Fully loosen the guide bar nuts without removing them before hand-tightening them to adjust the cutting chain;
- Turn the guide bar adjusting screw clockwise with the flat end of a flat-head screwdriver until the cutting chain comes into contact with the bottom of the guide bar;
- To verify that the cutting chain drive tangs are completely seated in the bar groove, rotate the cutting chain around the guide bar by hand several times;
- Check the cutting chain’s position. If there is any cut chain sag, raise the nose end of the guide bar to check for contact with the bottom of the guide bar. The nose end of the guide bar should be released. Increase or decrease the guide bar’s turning screw 1/4 turn at a time until you feel no drop in tension in the cutting chain;
- To secure the guide bar, lift up the nose end of the guide bar and tighten the guide bar nuts to the clutch cover firmly. Rotate the chain on the guide bar a number of times to see whether it’s too tight or loose;
- The next simple will be the final – you should loosen the guide bar nuts. Then turn the adjusting knob counter-clockwise with the 1/4 turn. If the chain becomes too loose, you also need to loosen the guide bar nuts – then you should turn the adjusting screw clockwise 1/4 turn to tighten it. Firmly hand-tighten the guide bar nuts with a socket wrench [7];
How to tighten a Husqvarna chainsaw chain?
Here is how you can tighten a Husqvarna chainsaw chain:
- Remove the chain brake;
- Remove/loosen the bar nuts that secure the clutch cover using a combination spanner;
- Raise the bar’s tip and stretch the chain by tightening the chain tensioning screw with a combination spanner while turning it clockwise. Tighten the chain until it does not dangle loosely on the bar’s underside. Check to see if you can pull the rope around freely by hand and that there is no slack at the bottom of the bar;
- Apply the spanner to tighten the bar nuts a second time;
How to tighten a pole saw chain?
Tightening a pole saw chain is an important part of regular maintenance. To begin, you should make sure the saw is unplugged and the chain brake is engaged. Next, locate the bar-adjusting screws on either side of the bar and turn them clockwise to tighten the chain. As you do this, you should check that the links are not too tight, as this can cause damage to both the saw and the chain. Finally, when you have reached your desired tension level, re-engage the chain brake and test it out. If all is good, plug in your saw and get back to work!
How to tighten an electric pole saw chain?
Tightening an electric pole saw chain is a relatively simple process.
First, make sure the saw is unplugged and place it on a flat surface. Next, locate the tensioning screw or knob on the side of the saw near the blade. Turn this screw clockwise to tighten the chain. If you have difficulty turning the screw, use a wrench or pliers to help turn it. You should continue to turn the screw until there is no slack in the chain when you move it by hand.
Once your chain is tight, you’ll need to adjust its tension every few uses. This can be done by simply repeating steps 1-3 each time you need to adjust your chain’s tension. Be sure not to over-tighten your chain as this can cause damage to both your saw and your chainsaw blades.
How to tighten a gas pole saw chain?
Tightening the chain on a gas pole saw is a relatively straightforward process. First, make sure the saw is turned off and unplugged. Next, locate the tensioning screw on the side of the saw’s engine housing. This is usually at the top of the unit and will be marked with an arrow or an “L” indicating that it should be turned left to tighten.
Using a flathead screwdriver, turn the tensioning screw clockwise until you feel resistance. The chain should now be tight enough to use safely. If it is still too loose, you may need to adjust the bar nuts located at either end of the guide bar to further tighten it. After adjusting both bar nuts, turn on your saw and test it out by cutting through some wood. If necessary, repeat these steps until you get a satisfactory result.
Useful Video: Chainsaw – chain tension – how to
References:
- https://toolgears.com/how-tight-should-a-chainsaw-chain-be/
- https://toolgears.com/how-tight-should-a-chainsaw-chain-be/
- https://canberradiamondblade.com.au/why-does-my-chainsaw-stretch
- https://www.firewood-for-life.com/chainsaw-chain-tension.html
- https://askinglot.com/how-tight-should-the-chain-be-on-a-stihl-chainsaw
- https://homeguides.sfgate.com/tighten-blade-craftsman-chain-saw-96488.html
- https://homeguides.sfgate.com/tighten-poulan-p3416-chain-95166.html





Leave a Reply